
 The pattern should be printed in "tile large pages" format so that it comes out on four 8 1/2" x 11" sheets of paper. Align pages, tape together, trim outside edge, and measure to see that overall dimension is 14-inches wide by 21-inches long.
Materials Needed:
For one organizer: 1 yard cotton fabric, thread,
12-inches of 1 1/2 inch- wide ribbon
For set of 7 organizers: 4 yards cotton fabric divided into at least two different prints or one solid and one print, thread, 2 1/2 yards of 1 1/2 -inch wide ribbon
Optional: extra ribbon, fabric scraps for piecing
Directions:
Use approximately 1/2 yard of fabric to have the days of the week embroidered onto a 14-inch-wide fabric strip, with the lettering no more than 4-inches wide, leaving 5 inches of space between each word. Cut the embroidered fabric apart so the days are centered vertically on a 5 1/2-inch tall rectangle of fabric. If you decide to make a variation on this such as piecing contrasting fabric on either side of the day of the week, make sure your overall piece is still 14-inches wide. Press down 1/4-inch on the long edge below the lettering and stitch close to the edge.

Fold remaining fabric lengthwise so that the selvage or finished edge of the fabric can be a guide. Lay pattern lengthwise and measure to see that the "21" line (grainline) is parallel to the selvage. Pin pattern to fabric and cut two layers at a time. Fold center of opening into a triangle shape and cut it out. Decide how you want to coordinate and contrast fabrics.


Use fabric tracing paper and wheel to transfer optional dart lines onto fabric. The darts will make the organizer fit the shape of a hanger better, but are not required. To make darts, fold fabric right sides together on center line and stitch along diagonal line.


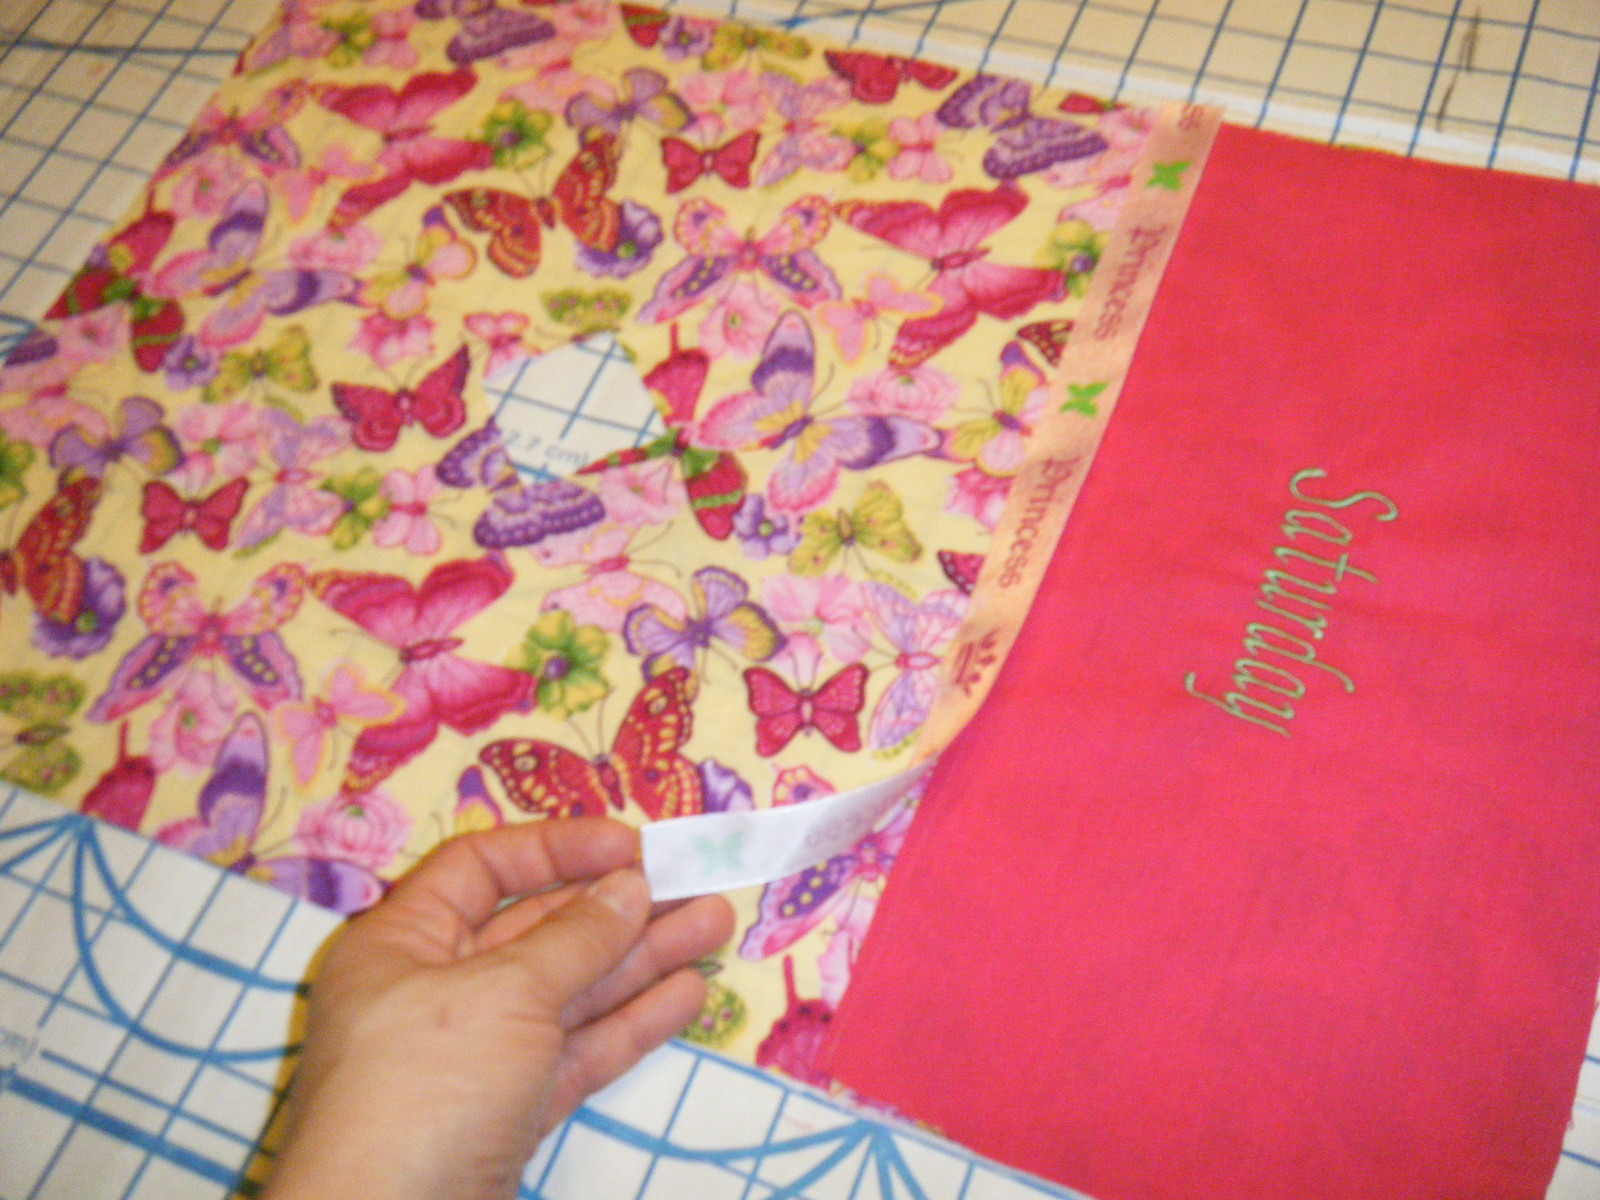
Decide which of the two large pieces of fabric you want to be underneath, and lay that piece right side up. Place your 14-inch-wide embroidered day of the week right side up, on the end farthest from the center hole. Aline the raw edge of the small piece with the short outer edge of the large piece. Stitch approximately 1/4 -inch from edges to secure the two pieces. If you choose to use extra decorative ribbon, place it over the finished edge of the embroidered piece and stitch now close to both edges of the ribbon. (Check to see that this ribbon will show on the front by temporarily folding the pocket up 5 1/4-inches. If this is not accurate, adjust as needed now, before you sew the two large pieces together.)

Place the remaining large fabric piece face down, matching center holes, right sides together with the other large piece. Pin and stitch 1/4-inch around all outer edges. Stitch a second time and trim corners. Using the center hole, turn the entire organizer right side out. Topstitch close to all outer edges.


On longest end, fold up 5-inches so that the day of the week will appear right side up on the pocket. Pin and stitch two outer edges of pocket along original topstitching. Measure 4 inches from each side and mark a line. Use either straight or decorative stitching along those two lines, creating three pockets.

Use 12-inches of 1 1/2-inch wide ribbon for finishing hole. Turn under and finish one end of ribbon. Fold ribbon lengthwise in half. Starting with raw ribbon edge on back side, cover raw hole edges with ribbon and stitch securely. Add an extra row of stitching if needed.

*You can create endless variations on this with extra ribbon, different piecing of contrasting fabrics, etc. You could use boning to help them hold their shape better or sew in some kind of weight to the back to balance full pockets on the front. The organizers drape loosely over clothes. Except for the optional darts, they are not tailored. I designed these for use on a child's 12 1/2-inch-wide hanger. They will also fit on a standard 16 1/2-inch hanger. However, because undergarments would be larger, I would suggest that the pattern be enlarged and possibly even include a pocket on the back to accommodate those items.
Thanks to Sew Unique for the embroidery work.
Here's a look at how I made my first set of organizers.
Thanks to Sew Unique for the embroidery work.
Here's a look at how I made my first set of organizers.